How to use graphics tablet
how use a graphic tablet on the computer, so as to optimize some operations that, with the mouse, start to become too long.

After reading my guide dedicated to the best graphic tablets , you have decided to buy some but, having never used a similar object before, you would need some useful "tips", at least to start: you are wondering, in fact, how use a graphic tablet on the computer, so as to optimize some operations that, with the mouse, start to become too long.
If this is your real need, know that you are in the right place to start: below, in fact, I will take care of explaining how to install the graphics tablet on your computer, how to configure it using the appropriate software and, later, how use it within some commonly used programs.
So, without hesitating further, make yourself comfortable and carefully read everything I have to explain to you on the subject: I am sure that, at the end of reading this guide, you will be perfectly able to reach the goal you set for yourself, without the minimal effort. Having said that, there is nothing left for me to do, except wish you good reading and have fun!
How to install the graphics tablet
Before you can even use the tablet to carry out your work, you must first install its drivers on your computer, so that you can use it properly. Although, in some cases, it may be possible to use a graphics tablet as a mouse immediately after connecting the USB cable to the computer (by moving the pen as a cursor immediately above the sensitive surface and tapping it on the latter, to simulate clicking mouse) without installing anything, the controls could assume unexpected behaviors: in my tests, for example, the directional axes were reversed.
So, the first thing you need to do is go to the pointing device manufacturer's website , access the Support / Download area , click on the section dedicated to drivers and, after specifying the device model in your possession, perform download the file that best suits your operating system.
Once you have the driver installation program, run it and follow the instructions you receive on the screen to complete the process; if prompted, restart the computer , connect the tablet to the latter and perform the initial configuration of the device, running the appropriate software. Once this is done, the tablet can be used within any program installed on the operating system .
To give you an example, let me explain how to use a Wacom graphics tablet , or rather, how to proceed with the installation of device drivers and with the initial configuration of the device. So, first of all, connect the tablet to your computer via USB (using a special adapter, if your computer only has USB Type C ports), then go to the driver area on the Wacom website and use the search bar at the top to find the most suitable drivers for your device (eg Wacom Intuos Pro M ).
Now, click on the result that best suits your case and, when the specific box for the chosen device appears, click on the Download Windows driver link , if you are using one of the Microsoft operating systems, or Download Mac drivers , if you have a computer. Apple house. When the download is complete, open the file obtained and follow the most suitable instructions, based on the choice made previously.
- Windows : click on the Yes and I accept buttons and wait a few minutes for the download and installation of the files necessary for the correct functioning of the device to be completed. At the end of the procedure, click on the Restart now button , to restart the computer immediately, or Restart later , to do it later. If you decide not to proceed immediately, keep in mind that turning off the computer is not the same as restarting: so that everything goes well, be careful to carry out this last operation.
- macOS : click on the Continue button twice consecutively, repeat the same operation on the Accept and Install buttons and, when prompted, enter the Mac password in the text field that appears on the screen and click OK . Finally, click on the Restart button to restart the computer and finalize the installation of the drivers.
At the next start, the Wacom management software should open automatically: if not, you can open the Wacom Desktop Center using the appropriate icon that, in the meantime, has been added to the Windows Start menu or to the macOS Launchpad . In any case, choose whether or not to participate in the Wacom user experience improvement program by clicking on the appropriate box and click on the OK button to access the program interface.
From here, you can download the Wacom software , adjust the pen settings or access the device documentation : the first thing I recommend you to do is click on the second of the three options mentioned and use the tabs, boxes and menus that appear on the screen, to apply the adjustments and customizations you want. Of course, the options displayed will vary based on the tablet model you have.
Please note that you can apply customized parameters for each of the applications you usually use on your computer: to do this, click on the [+] button located in the upper right corner of the graphics tablet management screen and select the program for which customize the behavior of the tablet in the list of those currently open. Once you have made your choice, click the OK button and use the Pen and Correspondence tabs to set the parameters you want. For more information, or in case something is not clear to you, you can take a look at my One by Wacom review .
How to use graphics tablet with Illustrator
The graphic tablet can represent a valid ally to create respectable vector graphic works, and that is why you are wondering how to use it with the famous Adobe Illustrator software ?
In this regard, you will be happy to know that, following the installation of the graphics tablet on your operating system, it will be usable through any software installed on your computer. In practice, this means that to use a graphic tablet with Illustrator , all you have to do is open the program, start the creation of a new document and use the surface of the graphic tablet as a canvas: to move on the work surface, keep the pen a short distance from the tablet and move it according to your needs; to make a mouse click, press on the tablet.
Similarly, you can emulate right clicking using one of the physical buttons on the stylus. Personally, as far as freehand drawing is concerned, I suggest you associate the shortcuts Drawing Board (Shift + O), Undo (Ctrl / cmd + Z), Pencil (N), Brushes (F5) and Live Paint (Ctrl + Alt + X or alt + cmd + x) to the keys available on the pen, to those on the tablet or to the predefined gestures, using the graphics tablet control software. All the default Illustrator keyboard shortcuts are available on this page .
For further information on how to use Adobe Illustrator, I refer you to reading this guide of mine , in which I explained how to create vector images with extreme ease.
How to use graphics tablet with Photoshop
The same speech we saw above also applies to Photoshop : immediately after opening the program, click on the Window tab , select the Brush Settings item from the menu that appears and, subsequently, place the check mark next to the Dynamic Shapes item .
Following this operation, a setting called Control should appear on the screen : when this happens, choose the Pen pressure option , so as to adjust the stroke drawn by the brush according to the pressure applied on the tablet.
For the rest, there is not much else to do, if not configure the tools you use most often for use via the keys of the stylus, or those of the pen: you can make these adjustments through the graphics tablet management software . For a complete list of predefined shortcuts that can be used in Photoshop, see this web page ; for further information on the use of the program, however, the specific guide I have dedicated to the topic may be useful .
How to use graphics tablet with Meet
Wondering how to use a graphics tablet as a whiteboard during your Google Meet conferences ? Well, even then, it's little more than child's play. After completing the configuration of the tablet on the computer, in fact, you can use it from any program you want: what you have to do, in practice, is to create a new video conference on Google Meet , click on the Present now button (the screen with the arrow up) located in the meeting screen, choose you want to share a window and select the program from the list that appearson which you intend to make notes (which must have been previously opened). For more information, check out my tutorial on how to present on Meet .
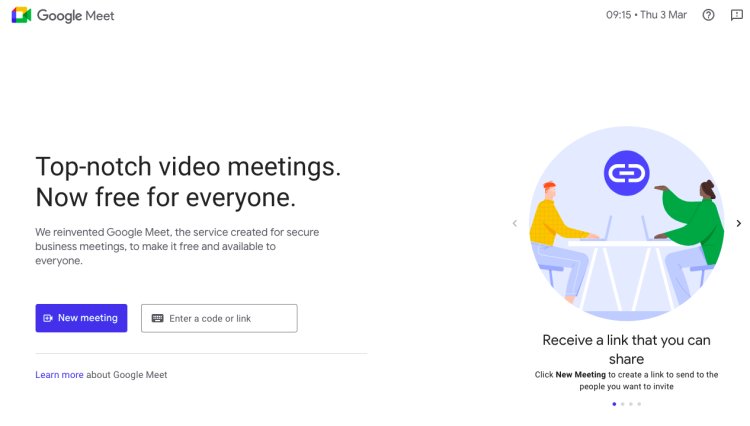
If you do not have specific programs for the purpose, you can rely on Jamboard , the Google "virtual whiteboard" dedicated to handwritten annotations, which can be started from any Google Meet video conference: to do so, click on the Activities button (the one with geometric shapes ), select the item Collaborate on the board from the panel that appears and then press the Start a new board button .
After a few moments, a new Jamboard window should open, on which you can draw using the graphics tablet and virtual tools visible on the left.
Following this operation, all participants in the meeting will get a link to the Jam, through which they can view the whiteboard (and related changes in real time); By default, guests will only be able to see the whiteboard, without changing it. If you want to alter this behavior, click on the Share button , enter the Gmail address of the user for whom you want to authorize the changes in the appropriate field and, after selecting it, set the corresponding drop-down menu on Editor . When you're done, click the Finish button and that's it.
To learn more about how to use Google Meet , I refer you to reading the specific tutorial available on my site.
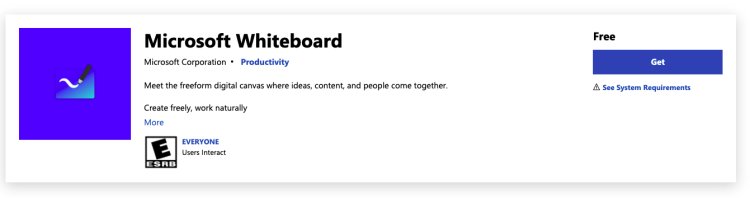
Would you like to use the graphics tablet to write ? Nothing simpler! All you have to do is install on your computer one of the numerous annotation programs available on the scene, which could be Microsoft OneNote , Microsoft Whiteboard or Evernote : each of them integrates, in fact, a handwriting mode, which you can use to take notes of any kind, using the graphics tablet.
Microsoft OneNote , in particular, also allows you to "translate" the text entered via the graphic tablet into digital text - provided, and not granted, that the handwriting is legible - with a click of the mouse: after having pinned the necessary contents, select the area you want to "translate" into text using the left mouse button (or the fixed selection function of the pen), right click on the selected area and choose the item In text from the context menu that is proposed to you.
If you are interested in learning more about how the note-taking programs I mentioned in this section work, take a look at the in-depth tutorial available on my website.
How to use graphics tablet as a second screen
If you have an interactive display tablet and have installed its drivers on your operating system, you can use it as a second screen simply by connecting it to a free HDMI input on your computer's video card. And if the only input of this type is already occupied by the main monitor, you can "get" a second HDMI port from a DVI, DisplayPort or Thunderbolt / USB-C input, using special cables with different connectors or adapters dedicated to the purpose.
Once the tablet is connected to one of the video inputs of the computer, all you have to do is connect the two devices also via USB and the game is done: within a few moments, the contents of the active window should be projected on the interactive display. .
Acting from the operating system settings and / or from the graphics tablet management software, it is then possible to choose whether to replicate the entire desktop, a part of it or the window of a specific program or application, even immediately after opening. For further information, I suggest you to read the user manual or the digital guide of the graphics tablet in your possession, in which you will certainly find valuable information on this.